
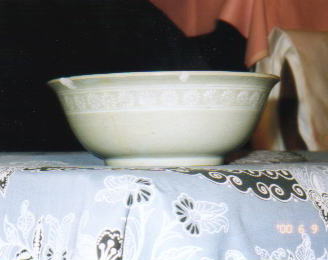
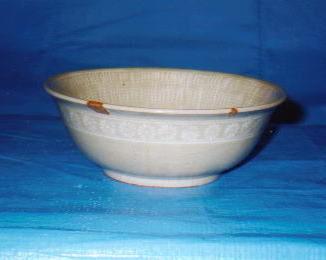
Repairing small chips on pottery items
( small chips are called ‘HOTSU’ )
When damage is fresh and the broken part is not so dirty, work is able to start immediately.
If there is dirt on the broken part, first clean it with a tooth brush and detergent, and then dry it up perfectly before working.
↓↓↓↓↓
A opecial Putty is used for repairing broken pottery, and this putty consists of two kinds of the agents parts A and B.
These must be prepared in even volume before starting.
The above two agents should be mixed well before working.
All of these points are very important for a strong adhesion.
Step 1.
Some shrinkage is experienced, so it is best to use a little excess of the putty.
In order to allow the putty to harden well, wait for about 24~48 hours after application.
Time to herden is influenced by temperature and humidity.
Step 2.
Scrape off the jutted putty with knife, little be little, and make even surface on tested by your own touch.
Good finger touch is very necessary for the work.
Step 3.
Polish the putty line on the surface with the waterproof sandpaper ( #1500 ), work carefully and be sure not to scratch the surface of the work.
Step 4.
Apply Japanese clear lacquer ( SUKI-URUSHI ) on the line of putty carefully.
Work with a small round brush called ‘MENSOH-FUDE’ , and put a drip of URUSHI in the small dish.
If it is too thich, thin it with turpentine oil or HENNOHYU ( camphor oil ).
Step 5.
The semi-dryed condition of URUSHI is the best time to apply the gold-dust .
( about 15~25 minutes after painting )
A gold dust coating is with a small soft brush called ( ASHIRAI-KEBOU ).
Do not touch the coated over untill the gold dust is adhered.
( drying time is about 24~48 hours )
Step 6.
Wipe off the excess gold dust throughly with a dry soft cloth.
Apply japanese clear lacquer on the worked part then make use of fine cloth.
Wipe off any excess all on the worked part then make use of fine cloth.
Wipe off at once.
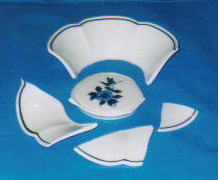
Repairing of cracked pottery
↓↓↓↓↓
Step 1.
Gather up all of the cracked pieces, and pairing test ought to be done the once-over.
Andafter the certification of fitting and nothing of trouble, and carry out with use of instant adhesion spotting, it will be settled an outward from, and throughout into overall of the crack space.
Step 2.
After the adhesive agent is fastened completery, an excessive agent is to be scraped off with knife, and lost part is to be make up with petty.
Step 3.
Cut off an excessive putty with knife, and finished finely with sandpaper.
Step 4.
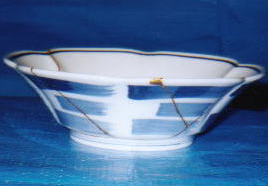
The paintingwork is to be carried out carefully along the seam line with Japanese clear lacquer ( SUKI-URUSHI ).
Half-dried condition of lacqure is the best chance for the working of putting gold dust on it.
Step 5.
Wipe off the excess of gold dust throughly with use of dried soft cloth, put Japanese clear lacqure on the worked part make use of fine cloth, and wipe it off at once.
Thus the all of progress is finished.

 PAGE TOP